language
English
العربية
বাংলাদেশ
Български
Hrvatski
Česky
Dansk
Nederland
 Esperanto
Slovenski
Filipino
Suomi
Français
Maori
 Shqiptare
Georgian
 Euskara
Deutsch
Ελλάδα
ישראל
इंडिया
Magyarország
Ísland
Indonesia
Irlanda
Italia
日本語
Sovensko
Հայաստան
한국
Kyrgyz
ປະເທດລາວ
 Zulu
Latvian
Lithuanian
Luxembourgish
 Latinus
Macedonian
Малайская
Maltese
Монгол улс
 Cymraeg
ဗမာ
 தமிழ்
नेपाल
Norge
ایران
Polska
Portugal
România
Российская
Србија
 Slovak
Србија
 Slovak
Bosanski
Slovenian
Беларус
España
Sverige
Точик
ประเทศไทย
Türk
Azərbaycan
Uzbek
 Afrikaans
Việt Nam

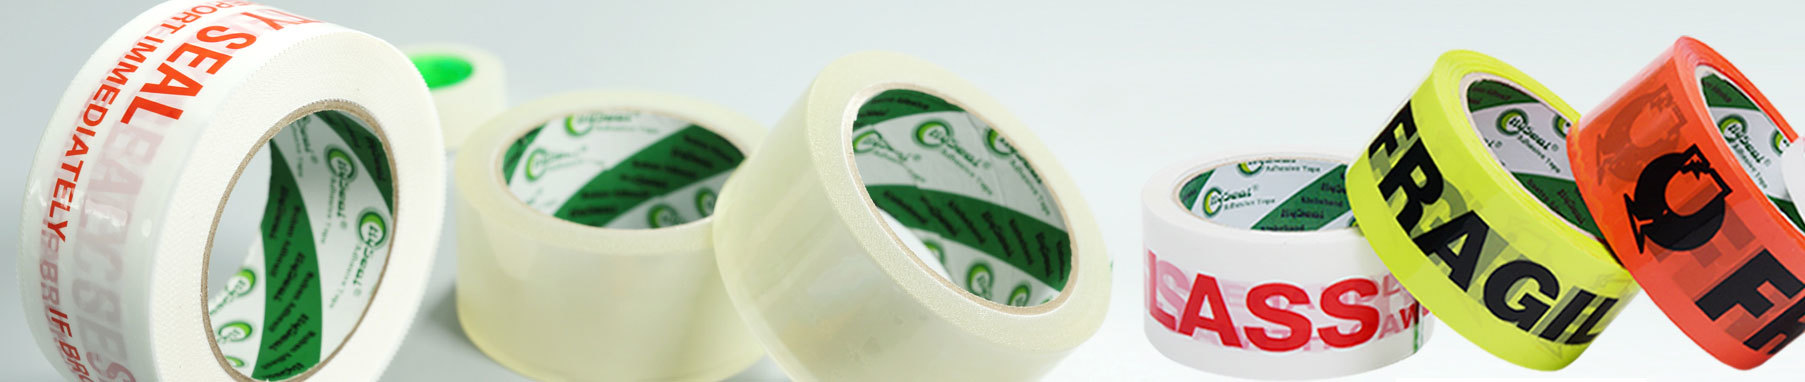
10 Tips for Properly Applying Insulation Tape on Wires
Table of Contents:
1. Introduction
2. Tip 1: Prepare the Wires
3. Tip 2: Choose the Right Insulation Tape
4. Tip 3: Clean and Dry the Surface
5. Tip 4: Apply Proper Tension
6. Tip 5: Start Wrapping at the Right Angle
7. Tip 6: Overlap the Tape
8. Tip 7: Avoid Stretching the Tape
9. Tip 8: Secure the End of the Tape
10. Tip 9: Test the Insulated Connection
11. Tip 10: Regularly Inspect and Replace Tape
12. Frequently Asked Questions (FAQs)
13. Conclusion
1. Introduction
Properly applying insulation tape on wires is crucial to maintain electrical safety and prevent potential hazards. Whether you're an electrician or a DIY enthusiast, these 10 tips will guide you through the process and ensure a secure and effective insulation application.
2. Tip 1: Prepare the Wires
Before applying insulation tape, ensure the wires are clean and stripped of any old or damaged insulation. Remove any dirt, grime, or corrosion that may hinder the tape's adhesion.
3. Tip 2: Choose the Right Insulation Tape
Selecting the appropriate insulation tape is key to a successful application. Consider the voltage rating, temperature resistance, and flexibility of the tape. High-quality vinyl or rubber-based tapes are commonly used for electrical insulation.
4. Tip 3: Clean and Dry the Surface
To ensure optimal adhesion, clean the surface of the wire thoroughly. Use a clean cloth or alcohol-based cleaner to remove any grease, oil, or dirt. Let it dry completely before proceeding with the insulation tape application.
5. Tip 4: Apply Proper Tension
Maintain consistent tension while wrapping the tape around the wire. Avoid applying excessive force that may stretch or distort the tape, as this can compromise its insulating properties.
6. Tip 5: Start Wrapping at the Right Angle
Begin wrapping the tape at a 45-degree angle to ensure a tight and secure fit. Overlap each layer by at least half its width to create a reliable insulation barrier.
7. Tip 6: Overlap the Tape
Overlap the tape consistently along the entire length of the wire. This will ensure complete coverage and enhance the insulation's effectiveness.
8. Tip 7: Avoid Stretching the Tape
While it may be tempting to stretch the tape for a tighter fit, avoid doing so. Stretching can weaken the tape and result in insufficient insulation. Instead, apply it with enough tension to provide a snug and secure wrap.
9. Tip 8: Secure the End of the Tape
To prevent the tape from unraveling, secure the end by wrapping it around the wire or using adhesive tape. This will maintain the integrity of the insulation over time.
10. Tip 9: Test the Insulated Connection
After applying the insulation tape, conduct a thorough test to ensure the wire is properly insulated. Use a multimeter or insulation resistance tester to verify that the electrical connection remains well-insulated.
11. Tip 10: Regularly Inspect and Replace Tape
Regularly inspect the condition of the insulation tape on your wires. Over time, the tape may deteriorate or become damaged, compromising its insulating properties. Replace any worn-out or damaged tape promptly.
12. Frequently Asked Questions (FAQs)
Q1: Can I reuse insulation tape?
Q2: How long does insulation tape last?
Q3: Is there a specific color for insulation tape?
Q4: Can I use insulation tape for outdoor applications?
Q5: Can I apply insulation tape underwater?
13. Conclusion
By following these 10 tips for properly applying insulation tape on wires, you can ensure a secure and effective electrical connection. Remember to choose the right tape, clean and prepare the wires, wrap with proper tension, and regularly inspect for any signs of wear or damage. Prioritize safety and protect your electrical connections with these essential practices.
1. Introduction
2. Tip 1: Prepare the Wires
3. Tip 2: Choose the Right Insulation Tape
4. Tip 3: Clean and Dry the Surface
5. Tip 4: Apply Proper Tension
6. Tip 5: Start Wrapping at the Right Angle
7. Tip 6: Overlap the Tape
8. Tip 7: Avoid Stretching the Tape
9. Tip 8: Secure the End of the Tape
10. Tip 9: Test the Insulated Connection
11. Tip 10: Regularly Inspect and Replace Tape
12. Frequently Asked Questions (FAQs)
13. Conclusion
1. Introduction
Properly applying insulation tape on wires is crucial to maintain electrical safety and prevent potential hazards. Whether you're an electrician or a DIY enthusiast, these 10 tips will guide you through the process and ensure a secure and effective insulation application.
2. Tip 1: Prepare the Wires
Before applying insulation tape, ensure the wires are clean and stripped of any old or damaged insulation. Remove any dirt, grime, or corrosion that may hinder the tape's adhesion.
3. Tip 2: Choose the Right Insulation Tape
Selecting the appropriate insulation tape is key to a successful application. Consider the voltage rating, temperature resistance, and flexibility of the tape. High-quality vinyl or rubber-based tapes are commonly used for electrical insulation.
4. Tip 3: Clean and Dry the Surface
To ensure optimal adhesion, clean the surface of the wire thoroughly. Use a clean cloth or alcohol-based cleaner to remove any grease, oil, or dirt. Let it dry completely before proceeding with the insulation tape application.
5. Tip 4: Apply Proper Tension
Maintain consistent tension while wrapping the tape around the wire. Avoid applying excessive force that may stretch or distort the tape, as this can compromise its insulating properties.
6. Tip 5: Start Wrapping at the Right Angle
Begin wrapping the tape at a 45-degree angle to ensure a tight and secure fit. Overlap each layer by at least half its width to create a reliable insulation barrier.
7. Tip 6: Overlap the Tape
Overlap the tape consistently along the entire length of the wire. This will ensure complete coverage and enhance the insulation's effectiveness.
8. Tip 7: Avoid Stretching the Tape
While it may be tempting to stretch the tape for a tighter fit, avoid doing so. Stretching can weaken the tape and result in insufficient insulation. Instead, apply it with enough tension to provide a snug and secure wrap.
9. Tip 8: Secure the End of the Tape
To prevent the tape from unraveling, secure the end by wrapping it around the wire or using adhesive tape. This will maintain the integrity of the insulation over time.
10. Tip 9: Test the Insulated Connection
After applying the insulation tape, conduct a thorough test to ensure the wire is properly insulated. Use a multimeter or insulation resistance tester to verify that the electrical connection remains well-insulated.
11. Tip 10: Regularly Inspect and Replace Tape
Regularly inspect the condition of the insulation tape on your wires. Over time, the tape may deteriorate or become damaged, compromising its insulating properties. Replace any worn-out or damaged tape promptly.
12. Frequently Asked Questions (FAQs)
Q1: Can I reuse insulation tape?
Q2: How long does insulation tape last?
Q3: Is there a specific color for insulation tape?
Q4: Can I use insulation tape for outdoor applications?
Q5: Can I apply insulation tape underwater?
13. Conclusion
By following these 10 tips for properly applying insulation tape on wires, you can ensure a secure and effective electrical connection. Remember to choose the right tape, clean and prepare the wires, wrap with proper tension, and regularly inspect for any signs of wear or damage. Prioritize safety and protect your electrical connections with these essential practices.
Related Blog
Nwes
Product List
Product Enquiry
 DONGGUAN HYSEAL CO., LTD
 Baolian Ind. Park, Gaobu,
Dongguan 523282,
Guangdong, China +86-769-81300836
 +86-769-81300830
 seven@hyseal.com
